Animal Hospital Night Shift Reception Desk Anomaly Checklist
Run this sequence on every patient before you stamp, register, or assign a treatment room.
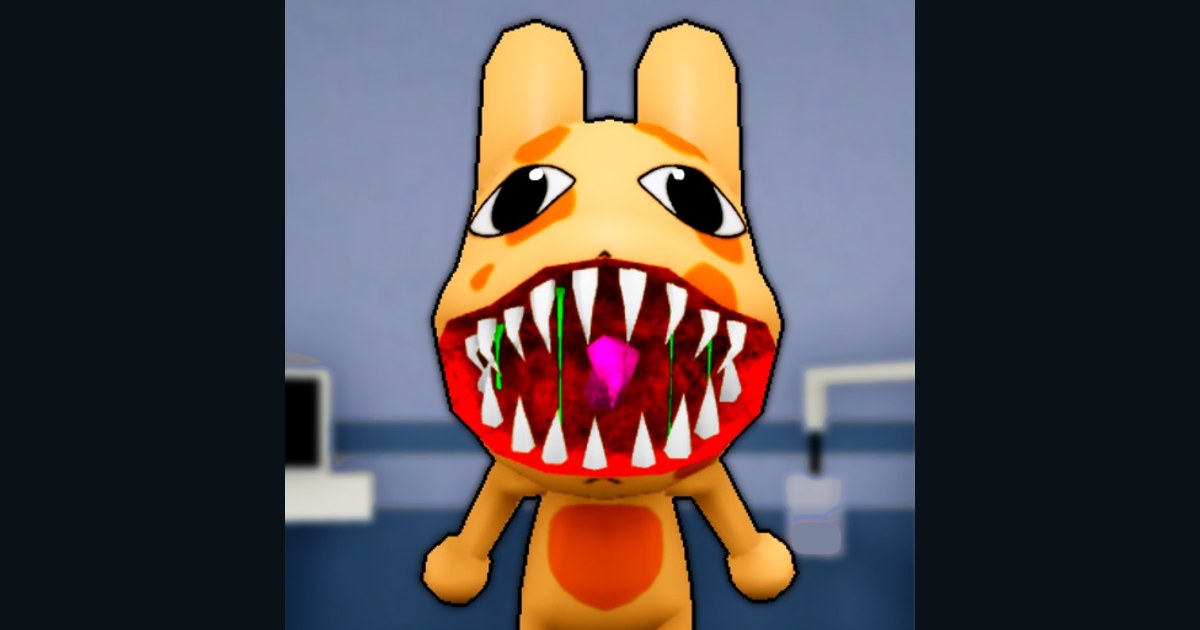
Use this printable-style checklist at the Animal Hospital reception desk during every night shift. The game released on Roblox in May 2026; core intake still follows a three-layer rule — see the patient, compare the photo, verify CCTV — before you admit anyone. One missed layer can spawn a Skinwalker inside the ward.
Keep this page open beside Getting Started on your first runs, then internalize the rhythm so co-op callouts become one word: “Shutter.”
Pre-shift desk setup
Before the first patient arrives:
- Sip coffee if Sanity is below comfortable threshold (see Sanity guide)
- Confirm Shutter is raised (open) on the left of the desk
- Check lobby CCTV feeds are cycling on monitors
- Restock stamp ink and confirm photo paper if the printer ran empty last shift
- Assign roles in co-op: Desk Lead, CCTV Float, Treatment Runner
- Note shift number from Shift Unlocks — Ambulance nights skip normal one-at-a-time pacing
Layer 1 — Visual inspection (live patient)
Stand at the window and inspect before taking a photo. Flag any single hit as suspicious — you do not need two tells to reject.
Face and head
- Eye count — three eyes, mismatched eye sizes, or hollow/black sockets
- Pupil behavior — pupils track you independently or stare through the glass
- Teeth — human-like sharp teeth, too many teeth, or a fixed wide grin
- Ears/horns — different ears left vs right, horns that twitch or clip through fur
- Mouth movement — speaking in human sentences, silent lip sync, or unnatural jaw angle
Body and movement
- Limbs — extra legs, stretched arms, joints bending wrong
- Silhouette — void-black body regions, missing tail shadow, floating paws
- Idle animation — twitching, sliding without walking, frozen stare longer than normal NPCs
- Scale — patient taller/shorter than species baseline at the window
If any box checks: close Shutter, wait until they leave, do not register. Raise Shutter only when the slot is empty.
Layer 2 — Photo comparison
After visual pass, take the required polaroid and compare print to live patient.
- Identity match — species, color pattern, and accessories align with the visitor
- Static or corruption — photo shows TV static, blank frame, or glitch bars
- Extra subject — second face, hand, or shadow not visible live
- Wrong background — photo backdrop differs from current lobby geometry
- Stalker behavior (post-Harlow) — some entities react to photography; if the patient distorts after the flash, treat as reject and Shutter
If photo fails: Shutter first, discard the print mentally — do not admit while arguing the photo “might” be fine.
Layer 3 — CCTV review
CCTV catches tells the window angle hides. A co-op partner can own this section while Desk Lead keeps eye contact.
- Black box eyes on check-in camera feed
- Stretched limbs visible only on monitor, not at window
- Void body — patient appears normal live but hollow/black on CCTV
- Camera follower — figure stares directly into lens while “patient” at desk looks away
- Deployable Camera (if purchased) — place for blind spots during crowded Ambulance intake
If CCTV fails while visual/photo passed: Shutter. CCTV overrides generous visual calls — community wipes often come from “they looked fine at the window.”
Scanner step (Secret Agent, Security, or shop purchase)
Harlow’s Favorite added the Scanner ($150 Supplies Shop, ~120s cooldown). Results are community-documented as color-coded:
| Result | Typical meaning | Action |
|---|---|---|
| Green | Clean scan | Proceed if layers 1–3 also pass |
| Yellow | Uncertain / stress reading | Slow down, re-check photo + CCTV |
| Red | Anomaly signal | Shutter unless all layers unanimously clean and team agrees on false positive |
- Scanner used on ambiguous patients, not on every visitor (cooldown management)
- Scan result logged to co-op voice — “yellow on badger” prevents double admit
Scanner supplements the three layers; it does not replace Shutter discipline.
Admit path — only if all layers pass
When visual, photo, and CCTV are clean (and Scanner green if used):
- Raise Shutter if it was lowered for inspection
- Greet and stamp the intake form
- Register patient on the lobby PC — spell name matches badge
- Print badge and confirm illness icon
- Assign room — Basic Medical, X-ray, Heart Monitor, or Surgery based on icon
- Call Treatment Lead with room number and illness type
Wrong room assignment wastes time but is fixable; wrong admit is not.
Reject path — Shutter discipline
- Press Shutter on the left desk control
- Wait until the entity leaves the window — do not stamp or register during exit
- Raise Shutter when clear for the next patient
- Brief co-op: “rejected — photo mismatch” (or whichever layer failed)
Rejecting a real patient costs payout; admitting an anomaly costs the shift. When uncertain, reject — Sanity loss from a wrong reject is usually cheaper than a Skinwalker release.
Ambulance and auto-admit exception
Starting Shift 4, the Ambulance Event floods six patients who may auto-enter without desk checks. This checklist does not apply to those bypass admissions — switch to Events Guide triage:
- Extinguish fire patients first
- Critical timers before optional treatments
- Hunt auto-admitted anomalies before they awaken
- Keep weapon (Taser, Gun) ready if Security or Secret Agent kits apply
Emergency interrupts
If fire, faint, or critical vitals trigger mid-check-in:
- Desk Lead finishes Shutter decision on current patient before running
- Float handles timed emergency — never leave a half-registered patient on PC
- Resume checklist from Layer 1 for the next visitor
End-of-shift review
- Count rejects vs admits — high reject with low payout may mean over-rejecting real patients
- Note tells you missed for How to Spot Anomalies review
- Update personal callout vocabulary with teammates
Quick reference card (co-op voice lines)
| Callout | Meaning |
|---|---|
| ”Visual fail” | Layer 1 flag — Shutter |
| ”Photo static” | Layer 2 fail |
| ”CCTV void” | Layer 3 fail |
| ”Scanner red” | Scan conflict — hold admit |
| ”Clear admit” | All layers pass — proceed to stamp |
| ”Ambulance switch” | Stop checklist — surge protocol |
Related pages
- How to Spot Anomalies — full tell gallery with screenshots
- Shift Unlocks — when CCTV and Ambulance pressure begin
- Scripts Hub — why automation fails this checklist after patches
- Tier List — Secretary and Secret Agent desk picks after Harlow rework
This checklist compiles community-verified intake steps for Animal Hospital (Anomaly) on Roblox. Official patch notes may add tells — cross-check Patch Notes after updates.
Frequently Asked Questions
Quick answers for night-shift survival.
Do I need all three layers to pass before admitting?
Yes for normal window patients. Visual, photo, and CCTV must agree. Scanner green is an optional fourth check when you have the tool equipped. Ambulance auto-admits bypass this workflow entirely.
What if visual looks fine but CCTV looks wrong?
Reject with the Shutter. CCTV tells like void bodies and camera followers are high-confidence anomaly signs. Desk players who trust the window over monitors cause most mid-game wipes.
When should I use the Scanner from Harlow's Favorite?
On ambiguous patients when photo and visual disagree, or when cooldown is available before a crowded queue. It has roughly a 120-second cooldown — save it for decisions that matter, not routine admits.
Does this checklist apply during the Ambulance Event?
Partially. Patients who auto-enter skip desk checks. Use the checklist only for standard window arrivals during the surge, and prioritize fire and critical timers for the rest.